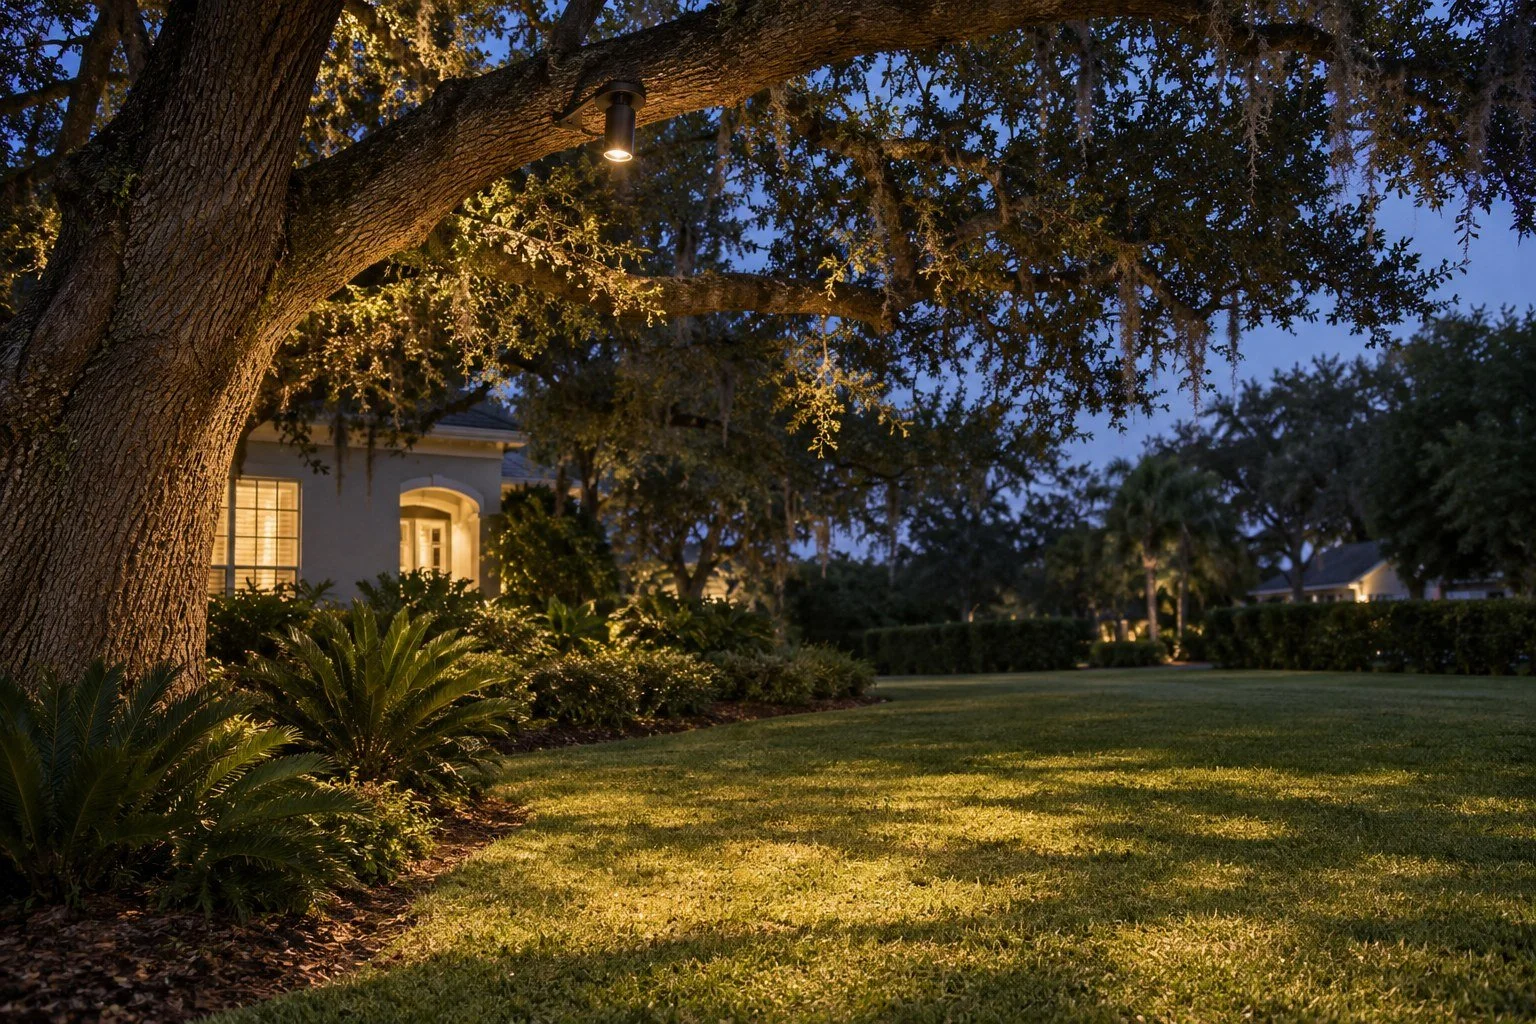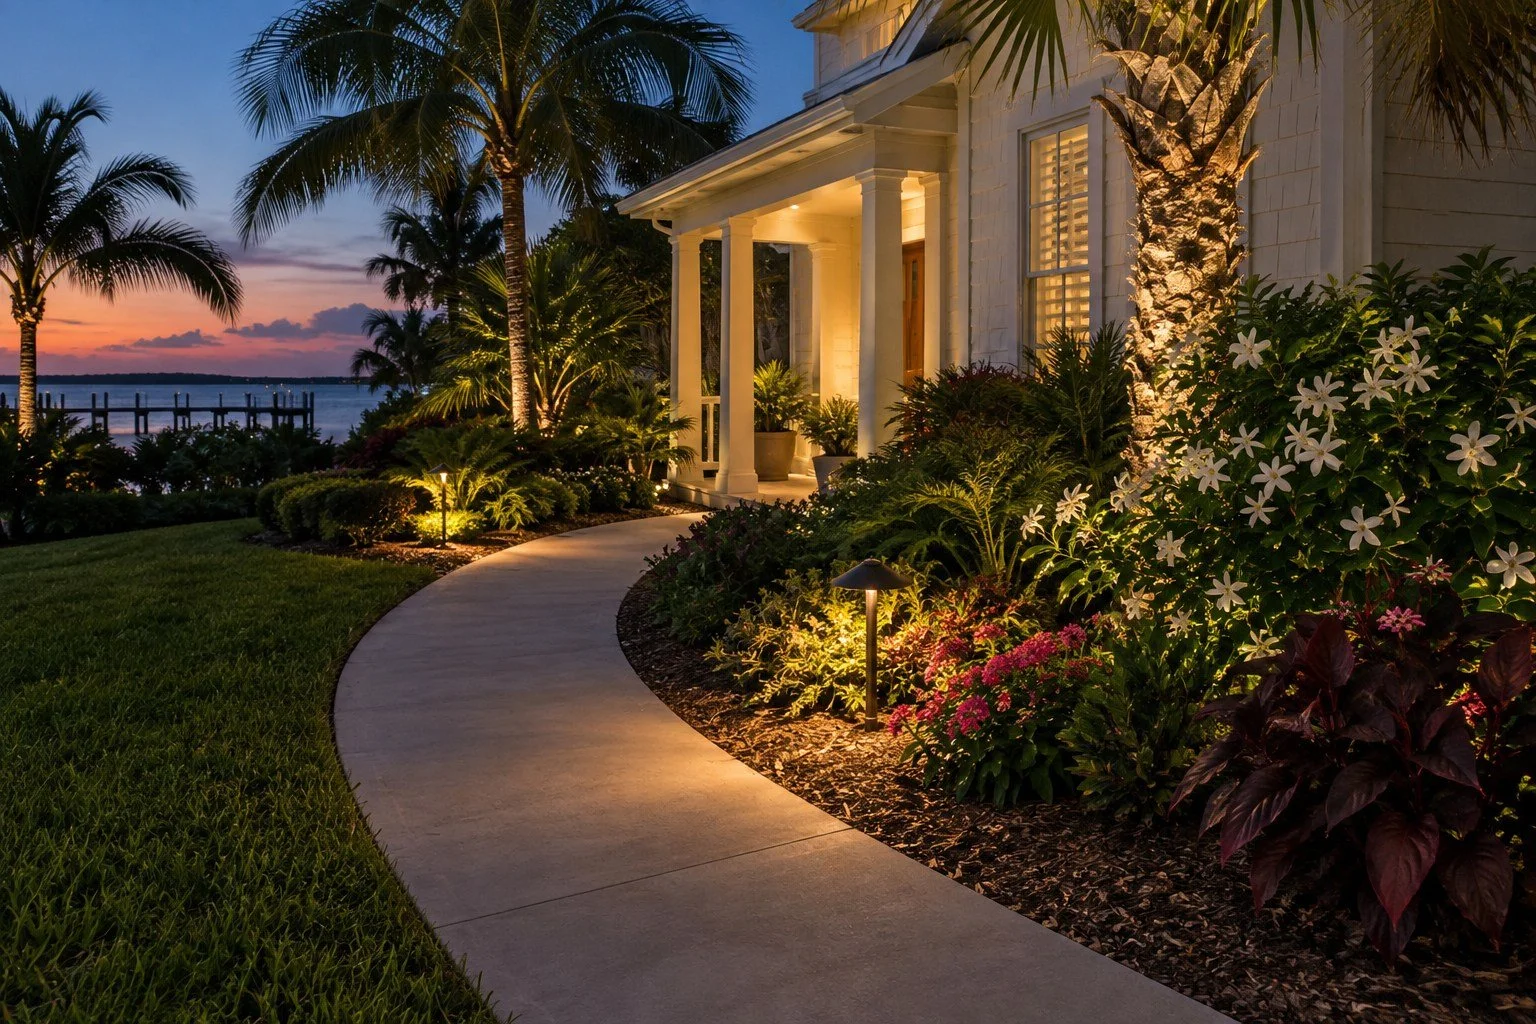
AI-generated landscape inspiration—not an RLC customer project or team photo.
Landscape Lighting
Landscape lighting uses low-voltage fixtures to illuminate paths, palms, planting beds and home features after dark. It is for homeowners who want a more welcoming yard and better visibility. RLC Lawn & Landscape plans and installs lighting in Lutz and Tampa Bay, with fixture placement, wiring and glare control considered together.
We design and install low-voltage lighting systems that highlight your home's architecture, trees, and planting beds, using fixtures built to hold up in Florida's heat and humidity.
Lighting Design
Our team handles fixture placement, wiring, transformer setup, and cleanup to create a clean, reliable lighting system that boosts curb appeal, safety, and nighttime visibility.
Installation
RLC Lawn & Landscape provides landscape lighting installation services to homeowners throughout Lutz, Tampa, Land O' Lakes, Wesley Chapel, Odessa, Trinity & Carrollwood, and select surrounding areas, backed by real installs across the Tampa Bay area.
Tampa Bay Service
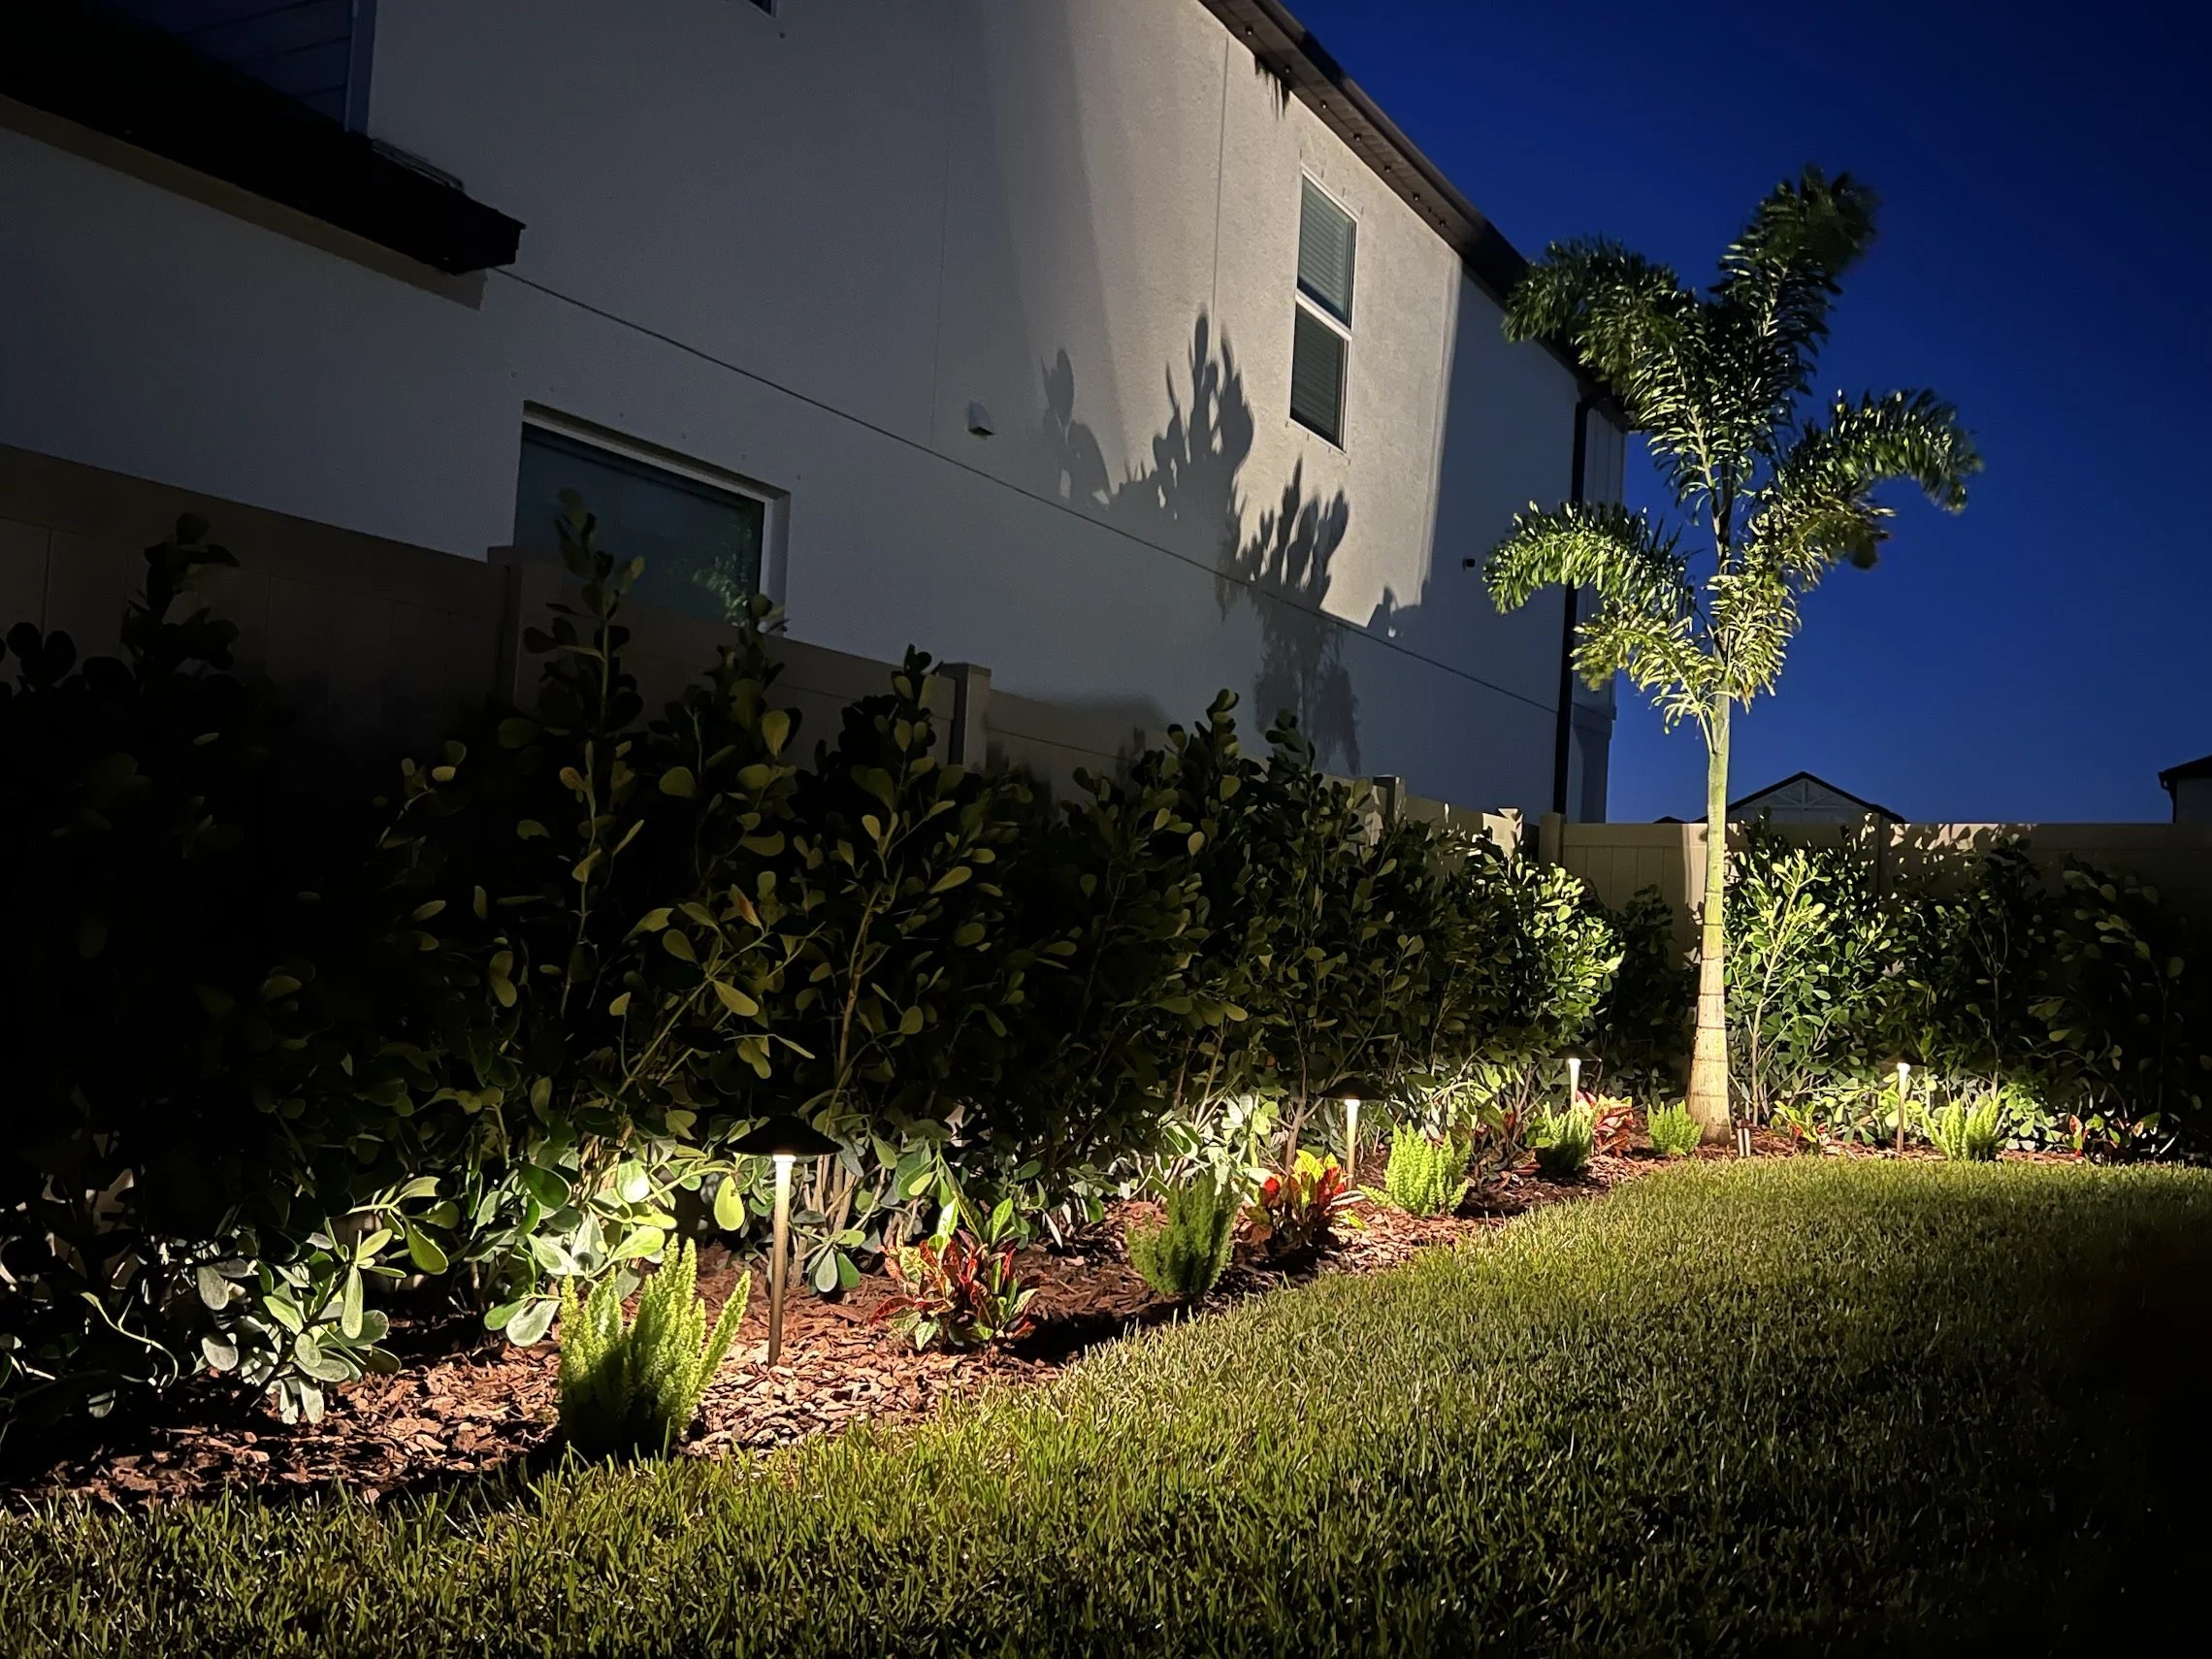
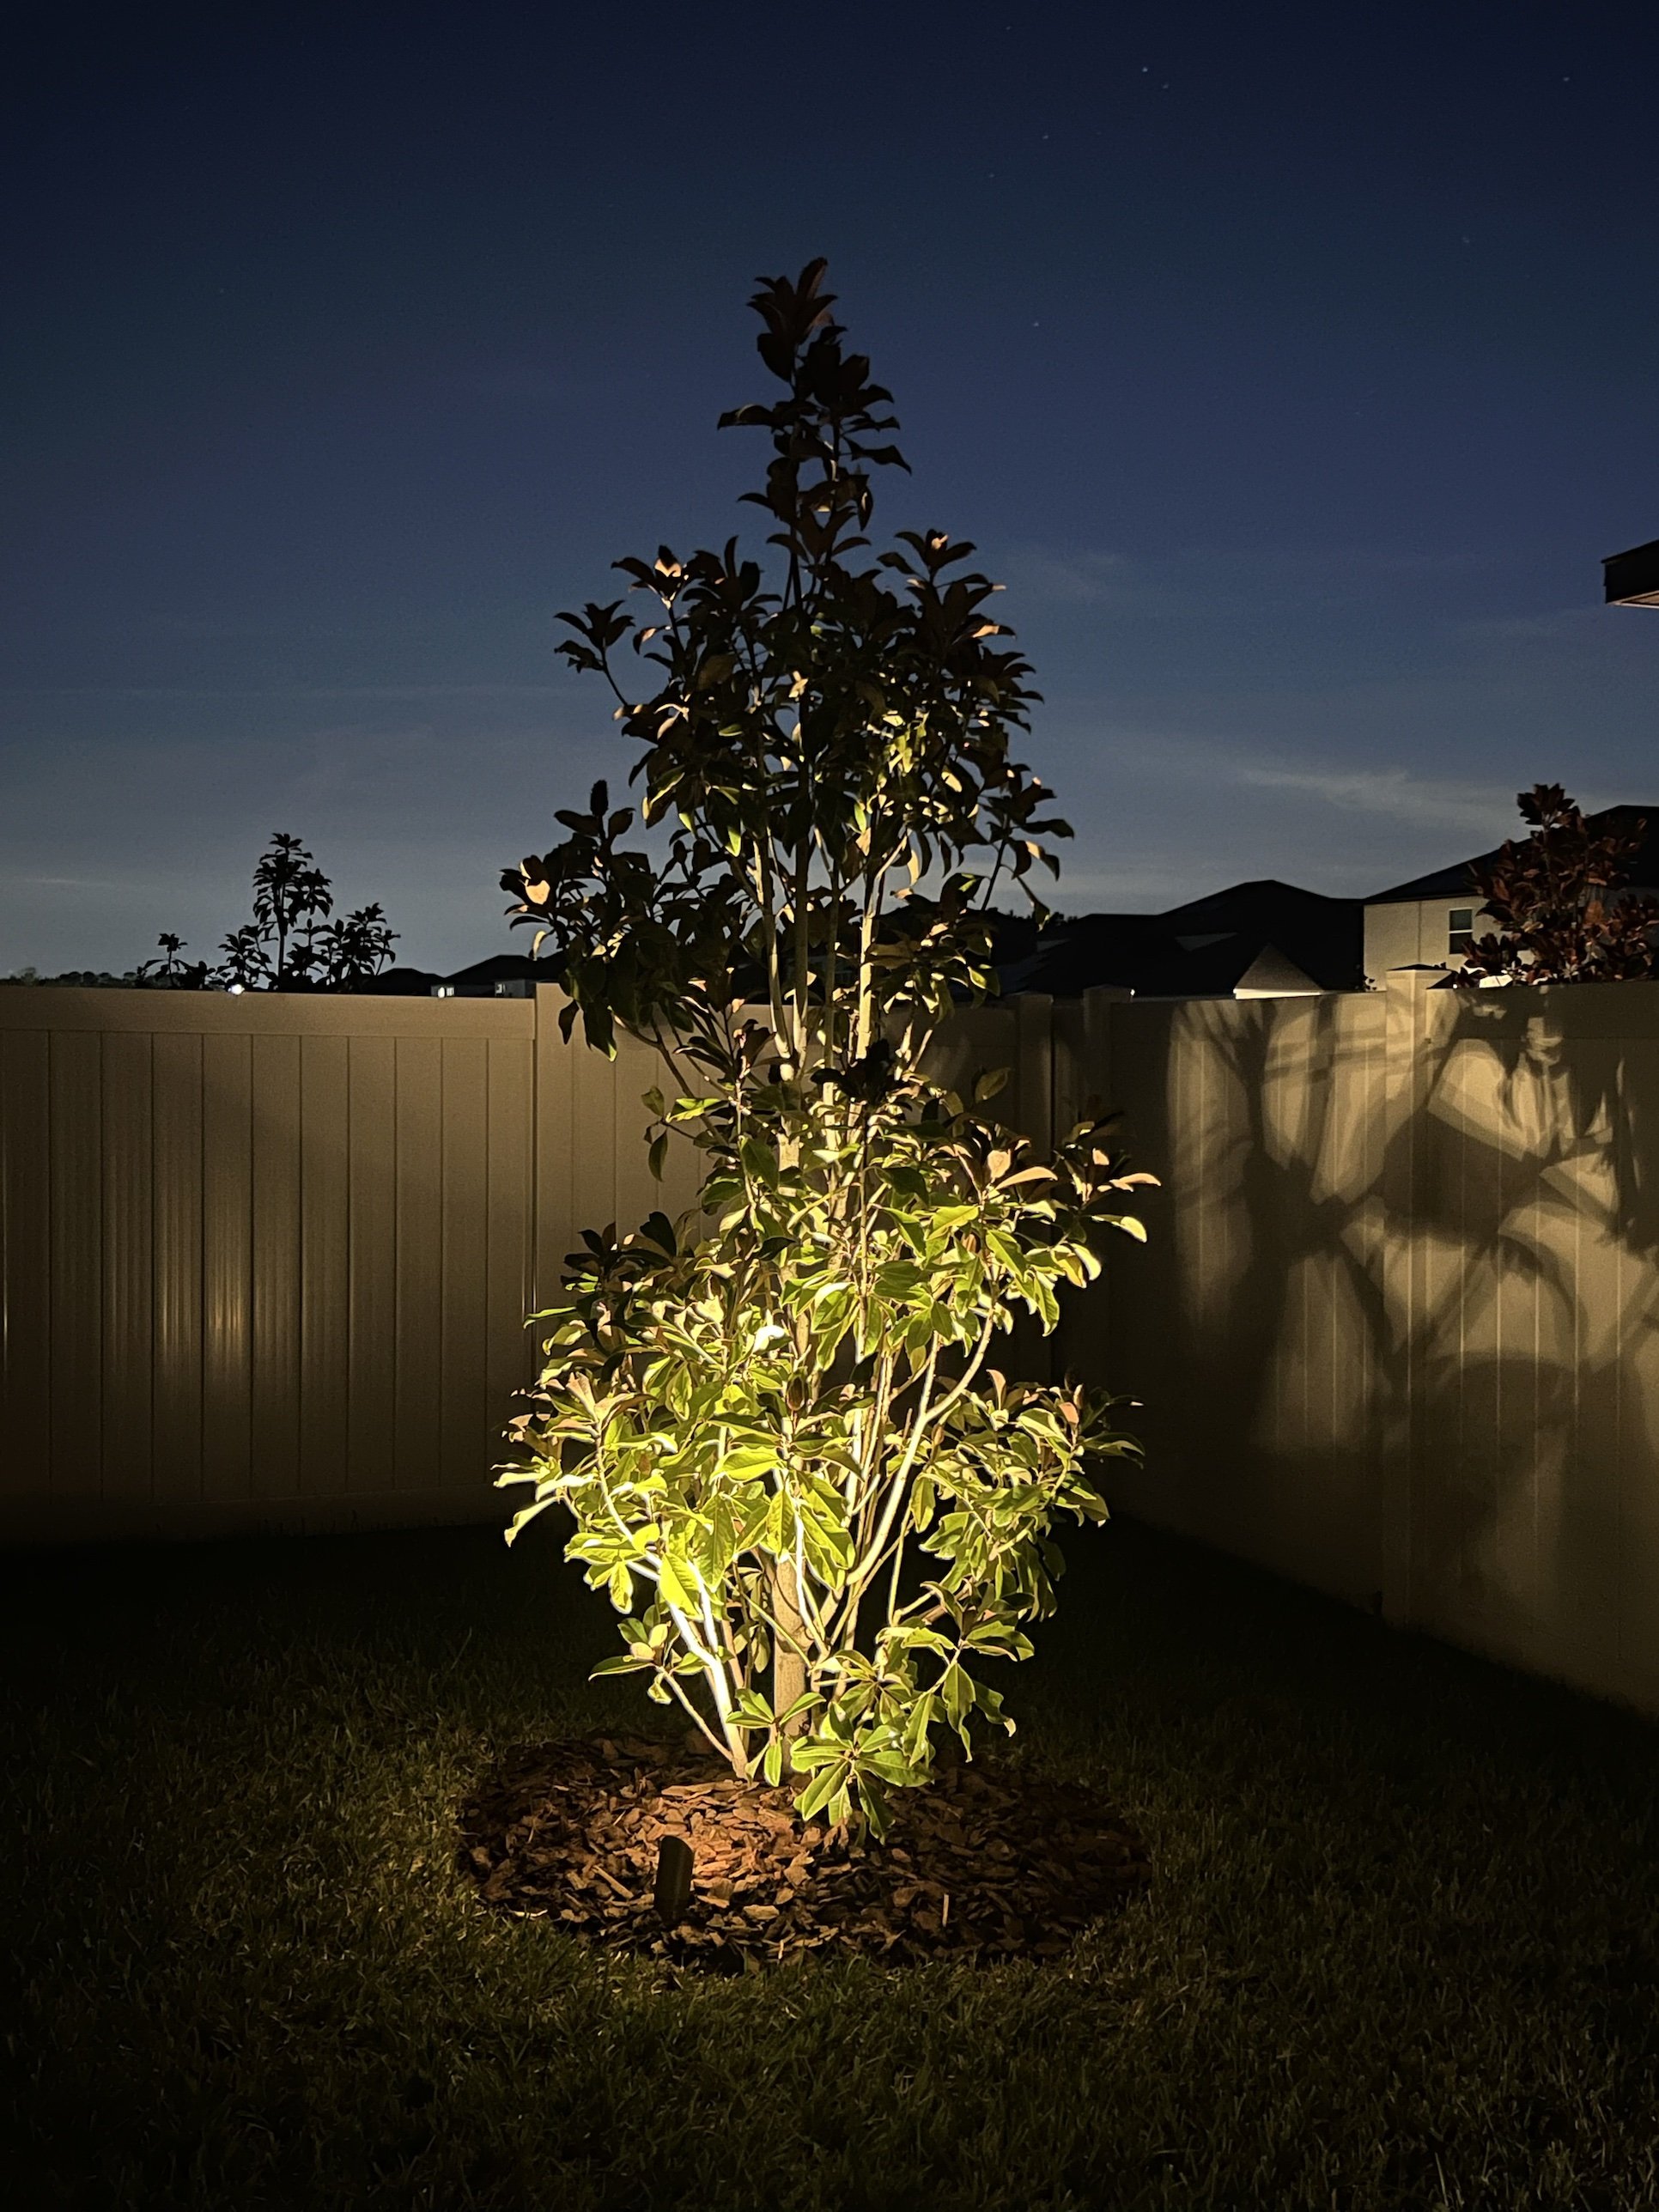
Real RLC install in Lutz, FL: path lights along a new clusia hedge bed, an uplit foxtail palm and a spotlit Little Gem magnolia.
Landscape lighting types: choose the right light for each part of your yard
A path, a palm canopy and a stone wall each need a different approach. Start with the feature you want to see, then select the fixture, beam and placement that suit it. This guide explains the main light types to discuss for your Lutz or Tampa Bay landscape. RLC confirms the fixtures and installation scope in your estimate.
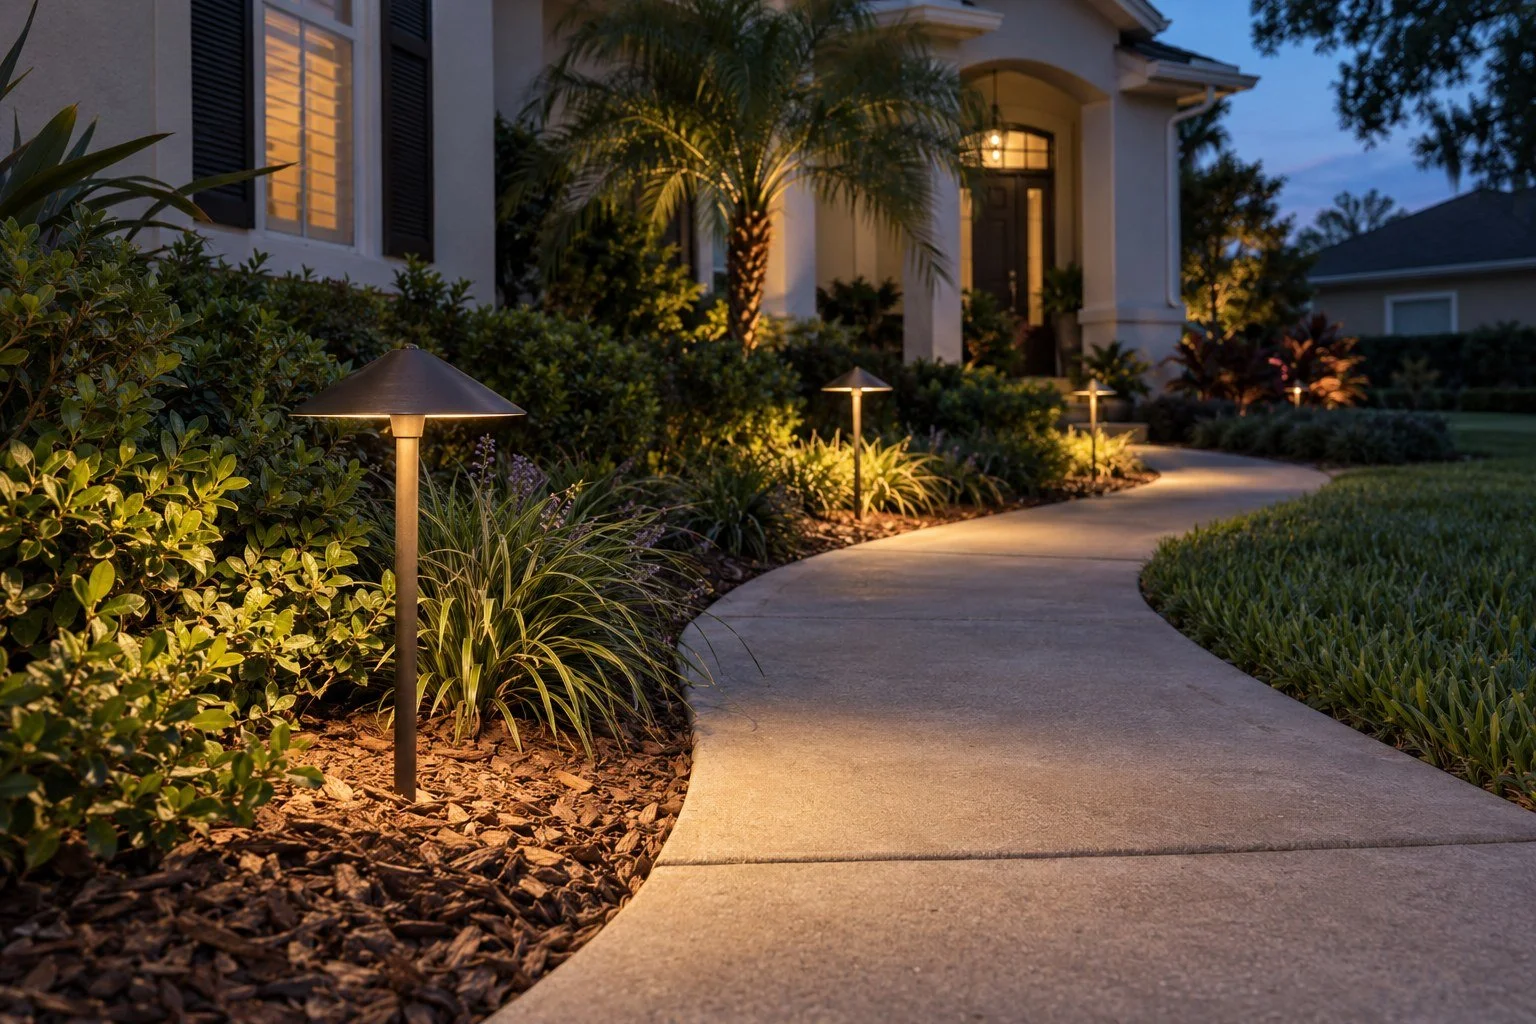
1. Path and area lights
Best for: Walkways, front entries, garden borders and low planting beds. A raised stem and shielded cap direct light toward the ground, creating pools of illumination that help define the route through the landscape.
Placement details: Plan around turns, entrances and changes in the walking surface. Set fixtures back into the bed so their light reaches the path while their stems stay clear of feet, edging equipment and mower routes. Spacing depends on fixture height, light spread and the shape of the path; a fixed distance between every light can leave dark gaps or overly bright patches.
What to consider: Look at the fixture in daylight as well as after dark. Taller plants can eventually block the light, and a tilted cap can expose the lamp. Keep nearby foliage trimmed, straighten stakes and clean the lenses. Path lights create low-level guidance; they do not replace lighting intended specifically for stairs.
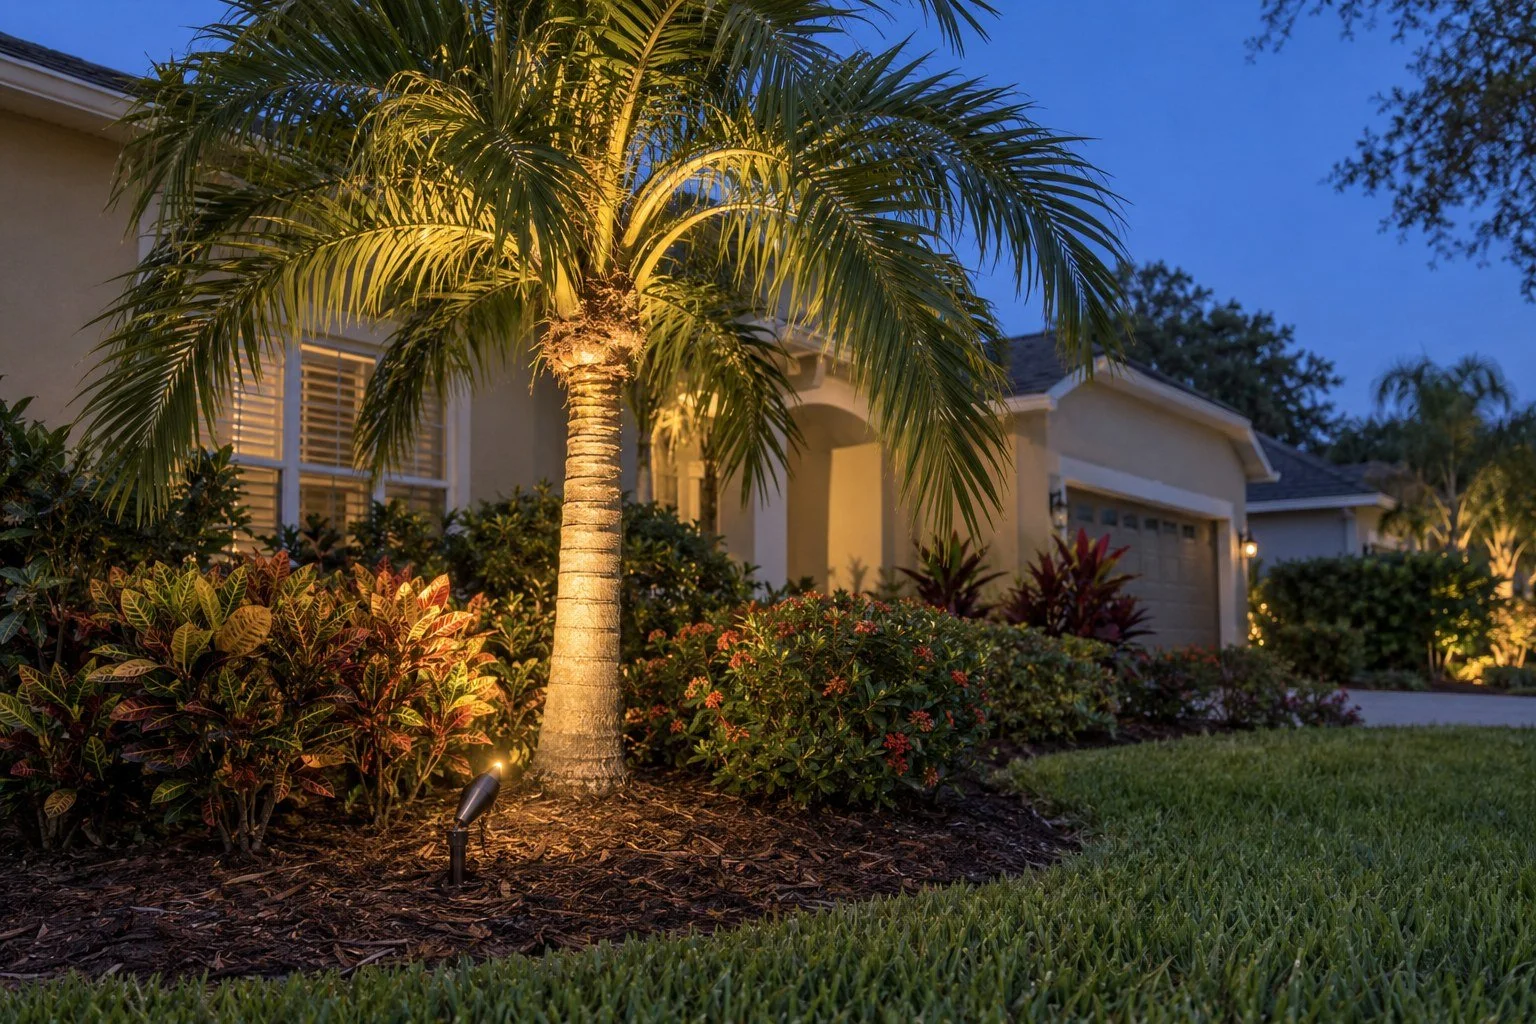
2. Spotlights and uplights
Best for: Palms, specimen trees, columns, sculptures and individual landscape features. A spotlight directs a controlled beam at a target. “Uplighting” describes aiming that light upward; it is a technique rather than a separate bulb type.
Placement details: For a palm, consider the trunk and crown together. A narrow beam can emphasize a slender trunk, while a broader beam can reach more of the canopy. A large branching tree may need light from more than one direction to show its shape. Moving the fixture closer or farther away changes the balance between trunk texture, foliage and shadow.
What to consider: More brightness does not automatically make a better focal point. Aim from the street, seating area and window views, keeping the beam on the intended feature. A shield or longer shroud can help conceal the light source. Recheck aiming as palms grow and trees are pruned, and keep mulch away from the lens.
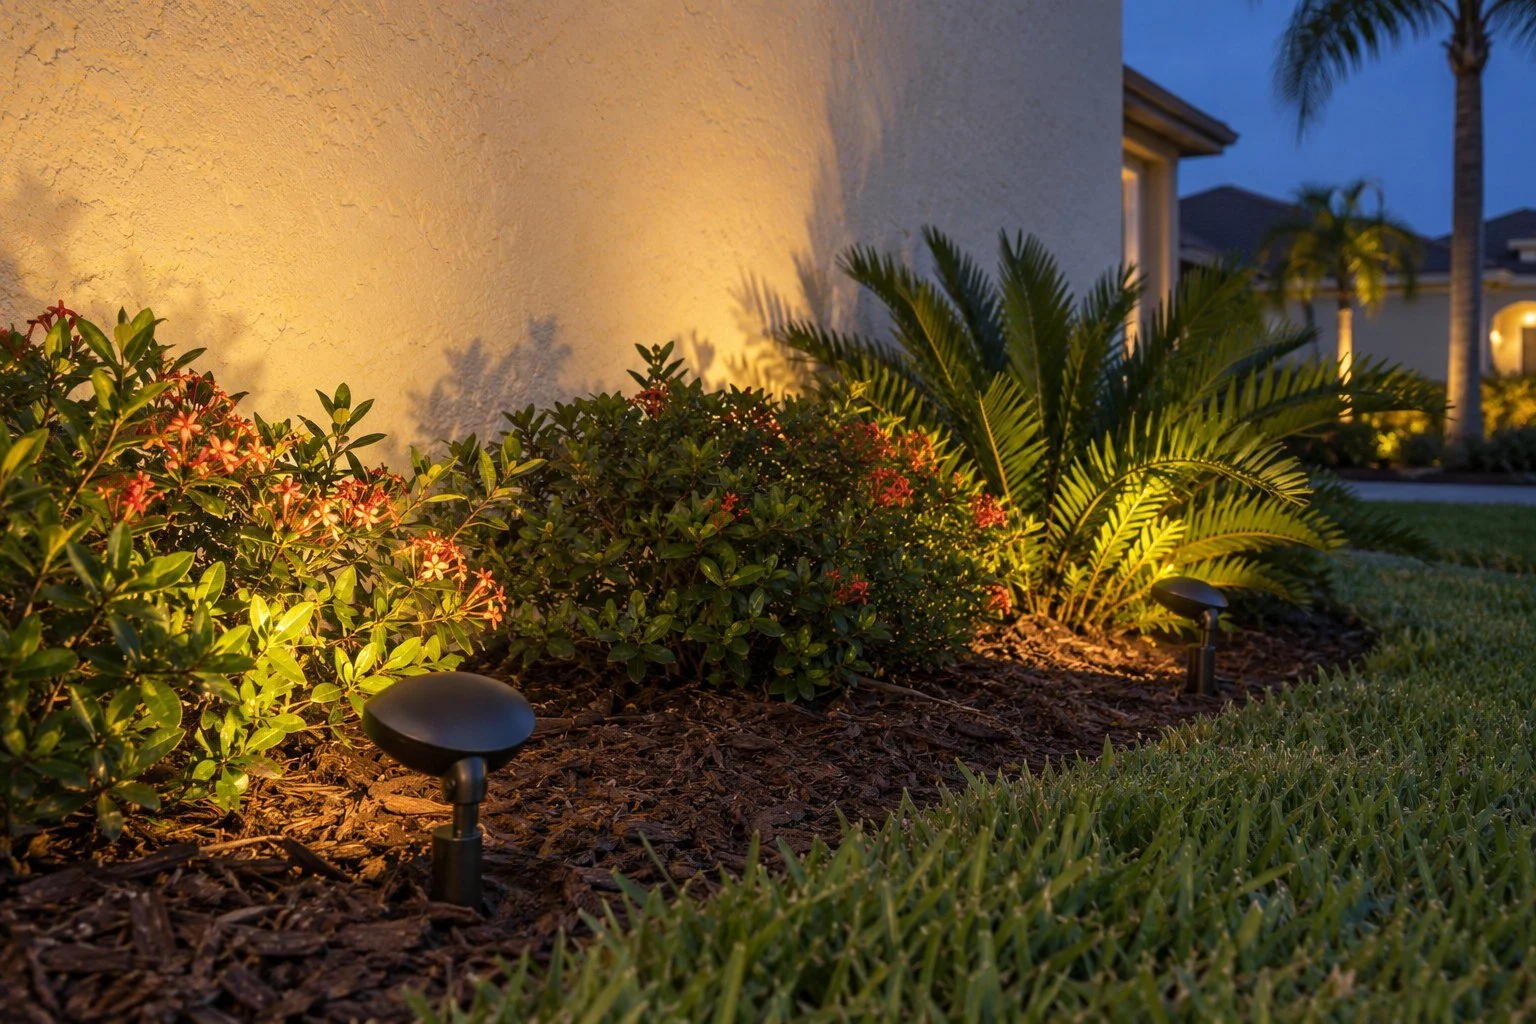
3. Flood lights and wall washes
Best for: Broad planting groups, hedges, walls and larger architectural surfaces. These fixtures spread light across a wider area than a tightly focused spotlight. A soft wash can connect several features visually without making each one a separate bright accent.
Placement details: The distance from a wall changes the effect. Light placed close to a textured surface can emphasize relief and shadow, often called grazing. A position farther away can produce a more even wash. On a hedge, consider both the width of the planting and its future growth so the light is not immediately swallowed by dense foliage.
What to consider: Broad beams need careful aiming near windows and neighboring properties. Avoid turning every wall into the brightest part of the yard. A decorative landscape wash serves a different purpose from a high-output security floodlight; discuss those goals separately when planning the system.
4. In-ground well lights
Best for: An upward lighting effect where a visible stake-mounted fixture would distract from the landscape. A well light sits in a housing at or near ground level and can highlight trees or architectural features while keeping the fixture profile low.
Placement details: The site needs suitable drainage and a clear path for the beam. A low spot that collects water, sand or mulch can make a recessed fixture harder to maintain. The chosen housing, trim and location must suit the surface and expected exposure; an ordinary well light should not be assumed to withstand vehicles or foot traffic.
What to consider: The upward-facing lens needs regular cleaning. Leaves and lawn debris can cover it, reducing output and changing the effect. Compare the discreet appearance with the easier access and adjustability of an above-ground spotlight before choosing.
5. Downlights and moonlighting
Best for: Patios, garden paths and planting areas that would benefit from light coming from above. A purpose-built downlight mounts on an appropriate elevated support and aims toward the ground. Light filtered through branches can create the soft, patterned effect commonly called moonlighting.
Placement details: Mounting height, beam width and the position of branches determine the illuminated area and shadows. The source should be shielded from people looking up from chairs or approaching along the path. Tree installations need mounting and cable routing that account for growth and future service access.
What to consider: Use equipment designed for the mounting orientation and outdoor conditions. An uplight turned upside down is not automatically suitable. Elevated lights can require more effort to service, and pruning may change the effect. Ask whether downlighting is practical for the trees or structures on your property.
The details that make these lights work together
Beam width and brightness: The beam determines where light goes; lamp output determines how much light is available. A narrow, concentrated beam and a wide wash can look very different even with similar output. Match both to the size and distance of the target.
White light and color: Decide whether you prefer a warmer or more neutral appearance, then coordinate neighboring fixtures. Color-changing effects require compatible lamps or fixtures and controls. The interactive preview above can help you describe the look you want.
Replaceable lamps or integrated LEDs: A lamp-ready fixture accepts a compatible replaceable bulb. An integrated fixture has its LED system built in; service options depend on the product. Compare access, replacement options, finish and warranty terms along with the initial fixture cost.
Florida landscape care: Plan for plant growth, irrigation spray, shifting mulch and access for lawn equipment. Periodically clean lenses, check aiming and look for covered fixtures or exposed wiring. Let RLC know about future planting or hardscape work so the lighting layout can account for it.
A practical starting point: For a front entry with palms and a walkway, discuss shielded path lights for the approach, focused uplights for selected palms, and a restrained wash on a suitable architectural feature. Your yard may need only a few of these light types; the goal is a balanced view, with useful darkness between focal points.
Explore fixture categories in the VOLT landscape lighting collection, or request a lighting estimate from RLC →
Built around VOLT. Designed for your landscape.
RLC Lawn & Landscape primarily uses VOLT® landscape lighting for our installations in Lutz and Tampa Bay. We select the fixture, LED bulb, beam width and power system together so your palms, pathways and home feel connected after dark.
Explore four VOLT fixtures and three transformer options in our showroom →
How the system works
Your outdoor power source. The system starts at a suitable, GFCI-protected 120-volt outdoor outlet. If a new outlet or line-voltage electrical work is needed, that work requires a qualified electrician and is identified separately.
The transformer: your lighting power center. This central unit reduces household voltage to low-voltage AC for compatible landscape lights. Depending on the model, VOLT transformers offer 12–15V output taps. RLC selects the tap and cable layout to deliver the correct voltage at the fixtures.
Buried cable and protected connections. Landscape-rated cable carries power through the yard to the fixtures. We plan routes around existing landscape features, use suitable outdoor connections and keep lights clear of walkways and maintenance access.
LED fixtures and automatic controls. The fixtures create the lighting effect. A compatible timer or photocell can handle scheduled or dusk-based operation. Controls are selected with the transformer; they are not automatically included in every model.
Do I need a “hub”?
A wired low-voltage system needs a transformer to supply power. A wiring hub, if used, is a connection point for cable branches—it does not replace the transformer. A smart gateway or color controller is a separate accessory required only by certain control systems. Standard landscape lighting does not need Wi-Fi to work.
The right capacity—not just the biggest box
Our showroom includes VOLT’s 100W Slim Line, 150W Clamp-Connect and 300W Multi-Tap transformers. We size the power center around the combined lamp wattage, cable distances and room for future additions. VOLT recommends keeping the load below 80% of transformer capacity. A 300W label describes capacity, not constant energy use.
From your first ideas to the final aiming
Walk the property. Discuss priorities, budget, the views you enjoy and areas needing better visibility.
Build the lighting plan. Confirm fixtures, finish, bulbs, cable routes, transformer location and control options in the estimate.
Install and test. Mount the power center, route wiring, place fixtures and check the system’s electrical load and operation.
Fine-tune and hand over. Adjust aiming and glare, review the timer or controls and explain how to keep lenses clear as the landscape grows.
Thinking about color? The color LED upgrade uses compatible color-capable lamps or fixtures and their required controls. It is quoted separately; a standard warm-white bulb cannot change color through a transformer setting.
Plan your VOLT lighting installation with RLC →
Product information: VOLT transformer guide. Equipment and availability are confirmed in your estimate. Manufacturer warranty coverage follows VOLT’s terms.
A landscape worth enjoying after dark
Give your home a welcoming evening presence. A balanced lighting plan brings out the shape of palms, the texture of planting beds and the details of your home without washing the whole yard in light.
Three ways to transform the view
Palms & specimen trees: Highlight trunks and canopies to add depth to the yard.
Architecture & planting beds: Connect the house and landscape with carefully aimed accents.
Walkways & entries: Make changes in direction and entrances easier to see, with fixtures positioned clear of the walking surface.
Thoughtful placement. A clean installation.
RLC considers the views from your windows, outdoor seating and the street. Fixture locations also need to work with growing plants, irrigation and routine landscape care. Wiring routes, transformer placement and the areas included in the installation are part of the project discussion.
What happens next
Share your vision. Tell us which areas feel dark, which features you love and your budget range.
Review the scope. We assess the property and recommend a layout, fixtures and installation approach for your goals.
Install & walk through. RLC handles the agreed lighting work, cleanup and a review of the system with you.
Before you plan your lighting project
Can you light an existing landscape?
Yes. We review access, existing beds, irrigation and any current lighting before recommending locations. Lighting can also be coordinated with a landscape renovation.
How much does landscape lighting cost in Tampa?
Fixture quantity and type, wiring distances, transformer requirements and site access all affect the estimate. Share your priorities so we can discuss a focused installation or a more complete plan.
Will it be too bright?
The goal is a comfortable, layered effect. Aiming and placement should highlight the landscape while limiting glare into seating areas, windows and neighboring properties.
Tell us what you want to see after sunset
Serving Lutz, Tampa, Land O’ Lakes, Wesley Chapel, Odessa, Trinity & Carrollwood, and select surrounding areas. Installation projects over $1,000 are welcome, including larger landscape and lighting transformations.
Request your lighting estimate → or call (813) 767-4022.
Planning your lighting? Read our landscape lighting estimate checklist in our Guides & Advice.
Coordinate lighting with landscape design and planting, privacy hedges and your showroom selections.
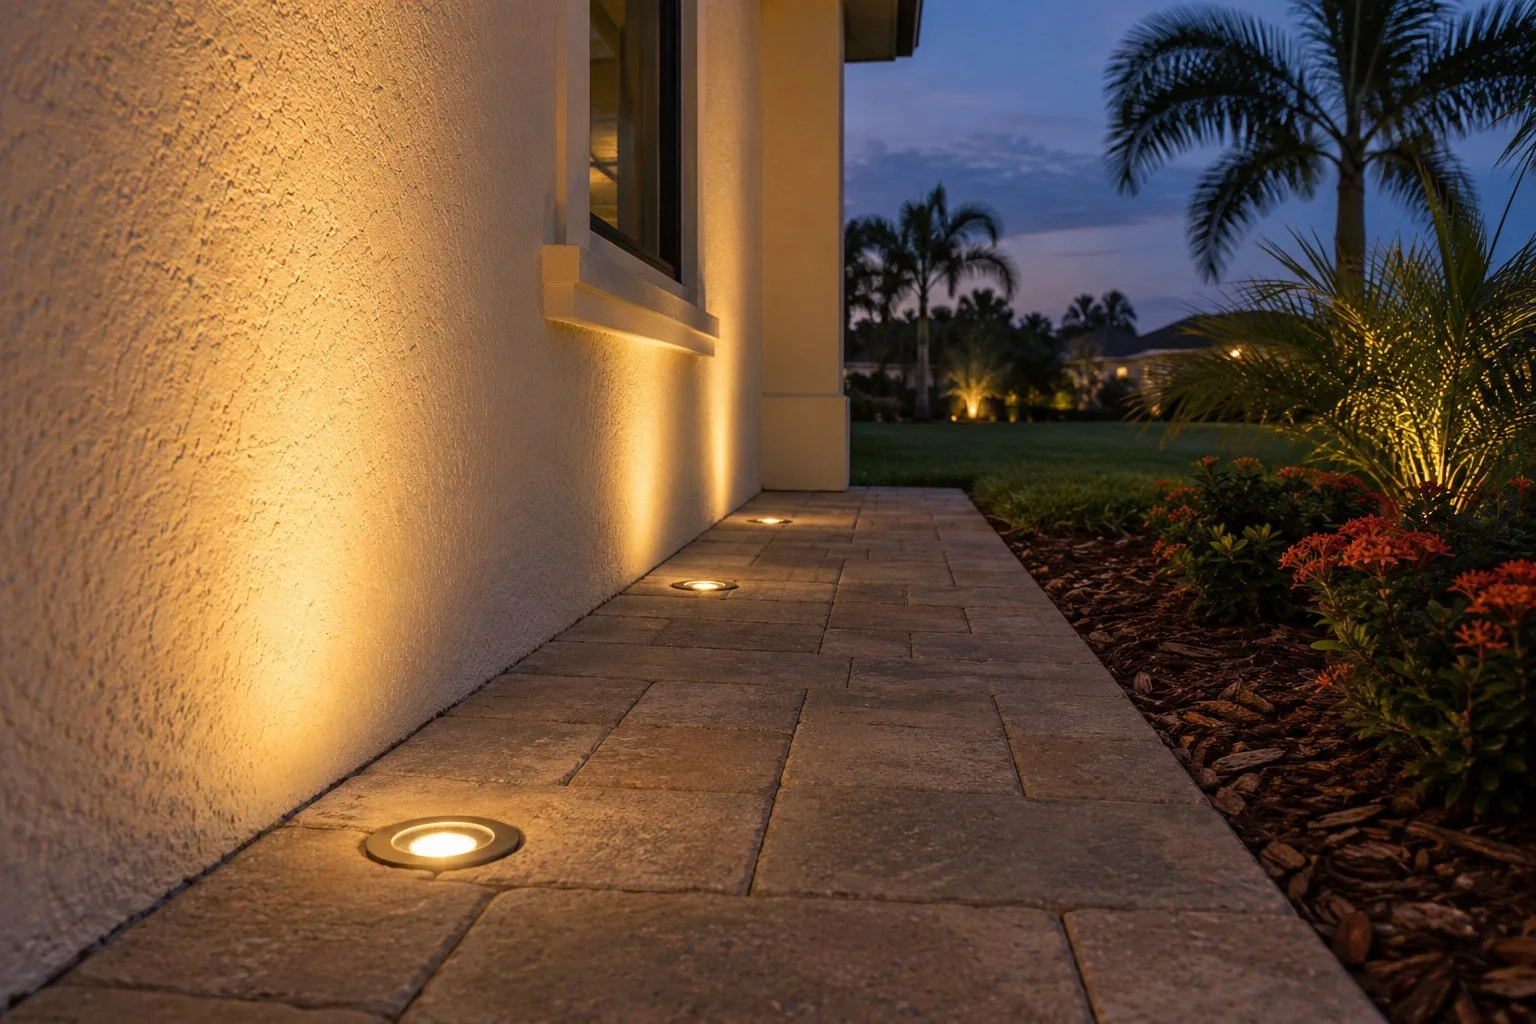
In pavers beside a wall. Recessed fixtures highlight the stucco while keeping the paved surface clear.
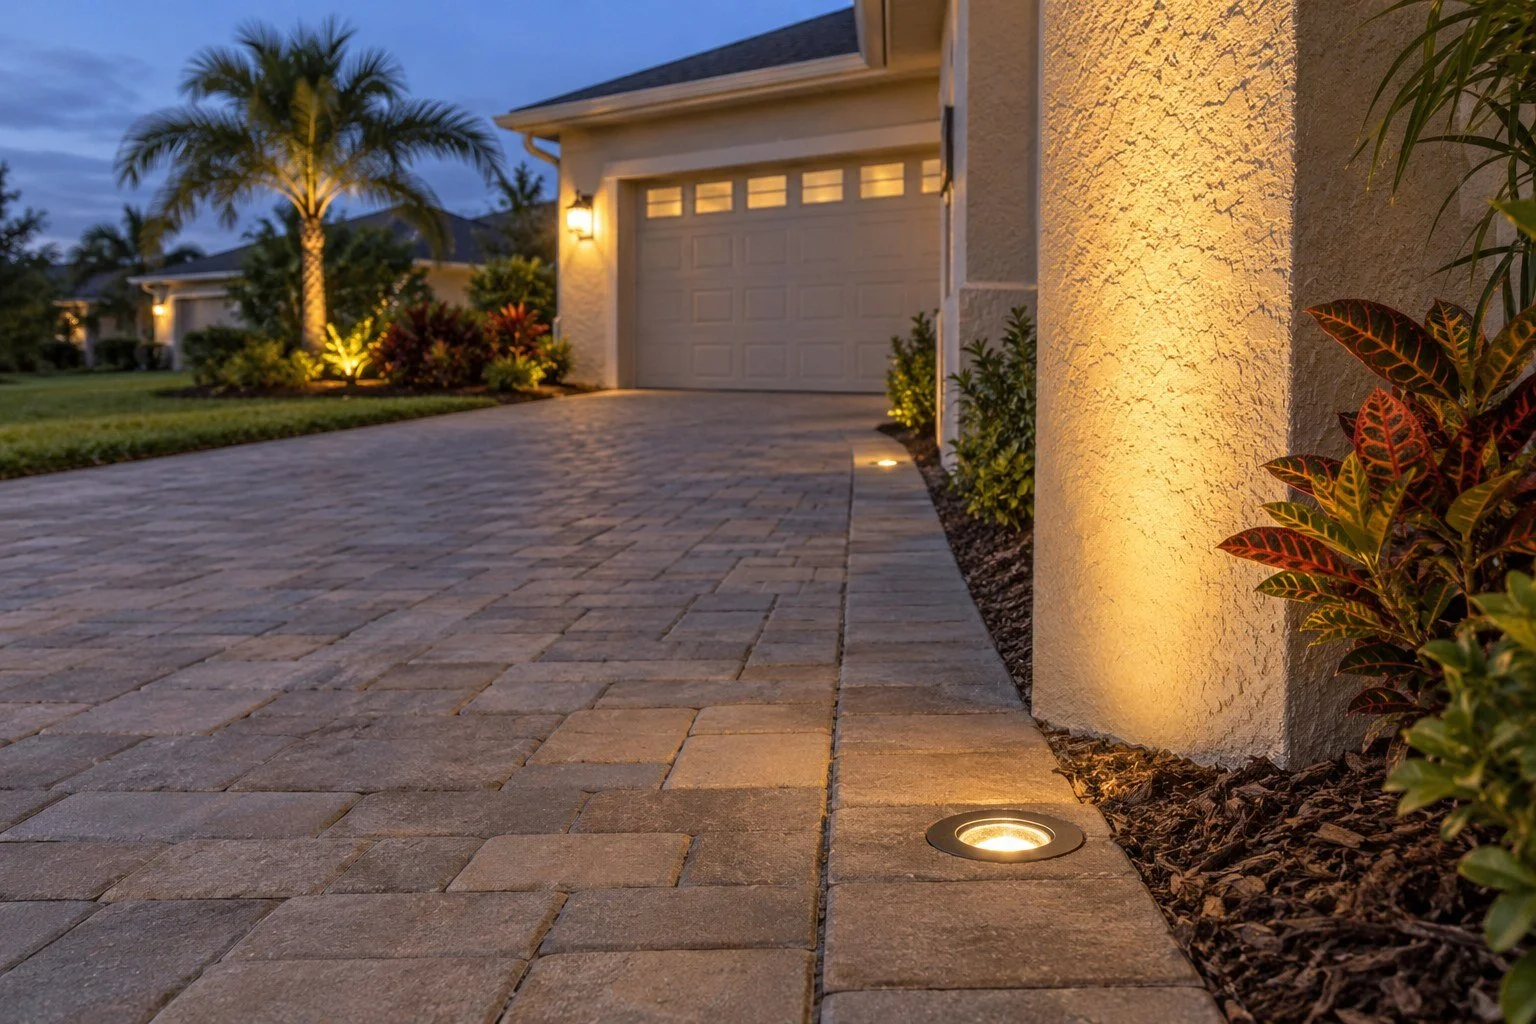
At the driveway edge near the house. A flush fixture in the border adds a warm architectural accent.